In our previous blog post, “How to Run ChatGPT Locally on Windows with WSL and OpenWebUI: A Comprehensive Guide,” we explored the steps to harness the power of AI language models on your personal machine, paving the way for greater control and accessibility in AI interactions. This time, we’re diving into the visually enchanting world of AI-generated art.
With the growing popularity of tools like Stable Diffusion, creators and enthusiasts now have access to groundbreaking AI technology capable of producing breathtaking, hyper-realistic art. When combined with OpenWebUI, a user-friendly and customizable interface, the potential to effortlessly create, refine, and manage AI art projects expands dramatically.
In this guide, “Unleashing Creativity: Integrating Stable Diffusion with OpenWebUI for Seamless AI Art Generation,” we’ll walk you through the steps to merge these powerful tools. Whether you’re an artist looking to enhance your workflow, a developer eager to explore creative possibilities, or a hobbyist excited about what AI can achieve, this post will equip you with the knowledge to transform your ideas into reality.
The first step is to install all the necessary packages required to set up pyenv. These dependencies ensure that pyenv can function properly and handle Python installations seamlessly.
sudo apt install -y make build-essential libssl-dev zlib1g-dev libbz2-dev libreadline-dev libsqlite3-dev wget curl llvm libncurses5-dev libncursesw5-dev xz-utils tk-dev libffi-dev liblzma-dev git
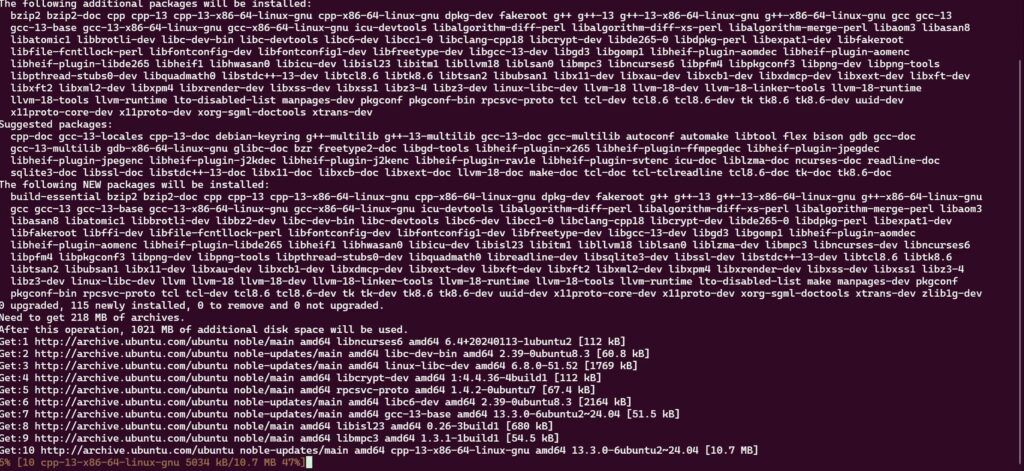
The command installs essential development tools and libraries on a Linux-based system, including compilers, build utilities, and libraries for SSL, compression, databases, and text-based interfaces. It prepares the system for tasks like building software from source, setting up Python (e.g., with pyenv), or compiling and linking programs. Key components include make, gcc, curl, git, and libraries for encryption, compression, database interaction, and GUI development. This is commonly used to set up a robust development environment.
The next step is to download the pyenv script, which will serve as your Python version manager. This tool will make it easy to install and manage the specific Python version required for Stable Diffusion.
pyenv is a Python version management tool that allows you to install, switch between, and manage multiple Python versions on your system. It operates independently of the system’s default Python, making it ideal for creating isolated environments tailored to specific projects. With pyenv, you can install the exact Python version required for a project, define project-specific Python versions, and avoid conflicts with other tools or applications relying on Python.
For Stable Diffusion, pyenv is particularly useful because the application often requires a specific Python version (e.g., Python 3.10) that might differ from the one installed on your system. Using pyenv ensures you can set up an isolated and compatible environment for Stable Diffusion without interfering with other projects or system-level Python. This isolation reduces compatibility issues, simplifies dependency management, and provides a streamlined way to meet Stable Diffusion’s requirements.
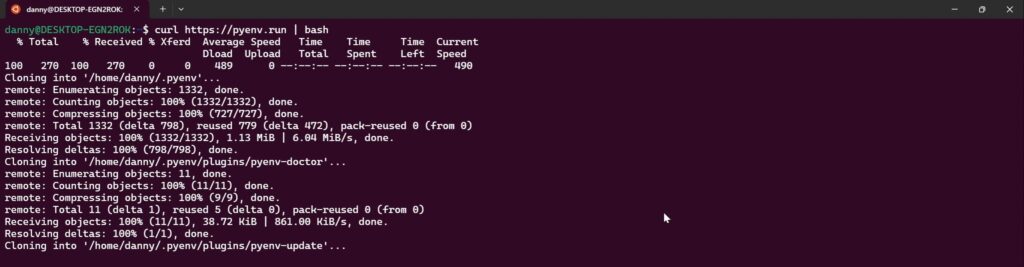
The command curl https://pyenv.run | bash downloads and executes a shell script to install pyenv, a tool for managing multiple Python versions. It sets up pyenv in your home directory, modifies shell configuration files (e.g., .bashrc or .zshrc) to initialize it, and optionally installs related tools like pyenv-virtualenv for virtual environment management. After execution, you can easily install and switch between Python versions, though you may need to reload your shell or restart the terminal to activate it.
After pyenv is downloaded and installed, make sure to copy the following two lines into your shell configuration file (e.g., .bashrc or .zshrc). Once added, run the command below to apply the changes:
source .bashrc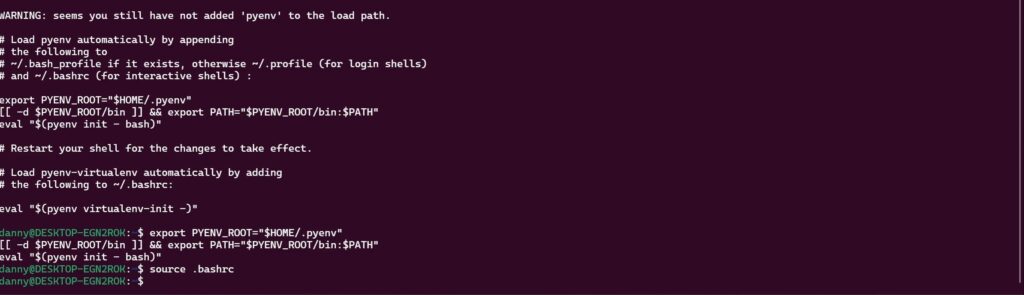
Running source .bashrc reloads your shell configuration to apply the changes made during the installation process. This is necessary because pyenv modifies the .bashrc file to include environment variables and initialization scripts that enable it to manage Python versions. By sourcing .bashrc, you ensure that pyenv is properly set up and ready to use in the current terminal session without needing to restart it.
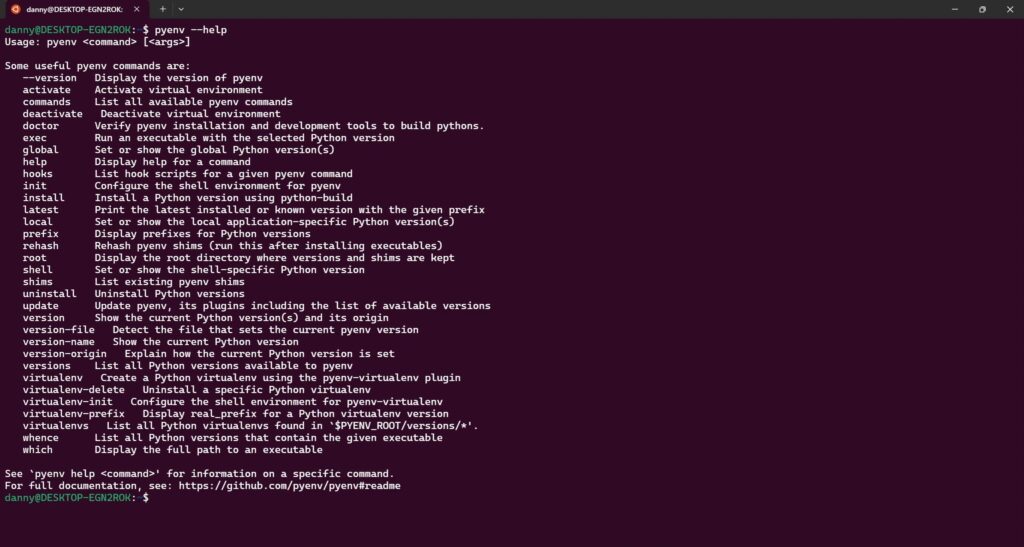
To verify that pyenv has been installed correctly, run the following command:
pyenv --helpIf you see a list of options related to pyenv, it means your shell configuration has successfully reloaded with the necessary scripts for pyenv to function properly.
With pyenv successfully installed and set up, the next step is to install the required Python version. For Stable Diffusion, Python 3.10 is highly recommended, as it works best for image generation. To install Python 3.10 using pyenv, run the following command:
pyenv install 3.10
Now to ensures that Python 3.10 is the default version used across your system whenever the python command is invoked run this command:
pyenv global 3.10
With pyenv now set up to use the correct version of Python, the next step is to download the webui script needed to run Stable Diffusion. This can be done easily using wget. Simply run the following command:
wget -q https://raw.githubusercontent.com/AUTOMATIC1111/stable-diffusion-webui/master/webui.sh
To verify that the script has been successfully downloaded, you can use the ls command to list the files in the directory.

The next step is to make the webui.sh script executable. You can do this by using the chmod command to grant the necessary permissions.
chmod +x webui.shThe command chmod +x webui.sh makes the file webui.sh executable by adding the necessary “execute” permissions. This allows the script to be run directly using ./webui.sh in the terminal, instead of specifying an interpreter like bash. It’s commonly used to prepare shell scripts for execution, such as during the setup of a project like Stable Diffusion, ensuring the script can run its commands seamlessly.

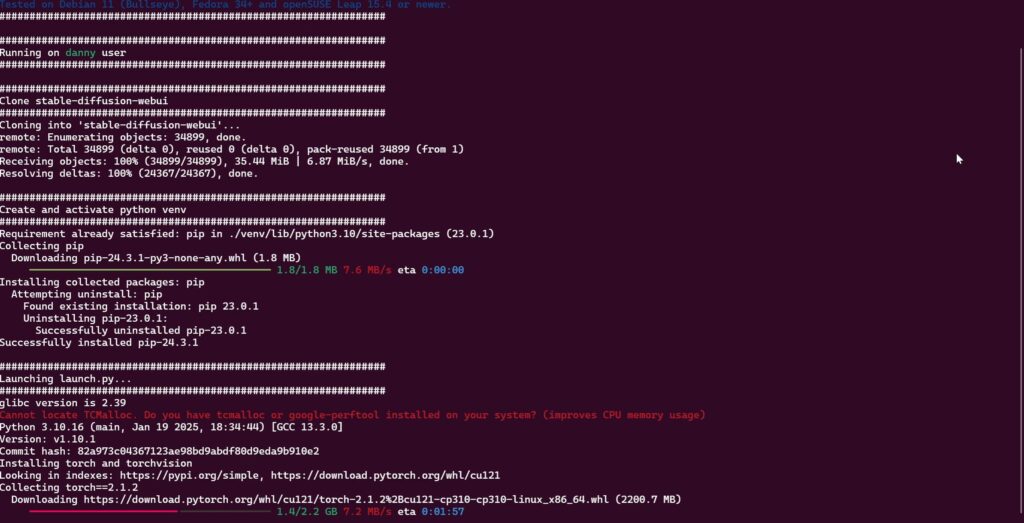
Now we can run this command to start the webui script for Stable Diffusion.
./webui.sh --listen --apiThe command starts the WebUI script (webui.sh), makes it accessible to other devices on the network (--listen), and enables its API for programmatic interaction (--api). This setup is often used for collaborative workflows or remote operations, such as controlling Stable Diffusion from another machine or integrating it with other applications like OpenWebUI.

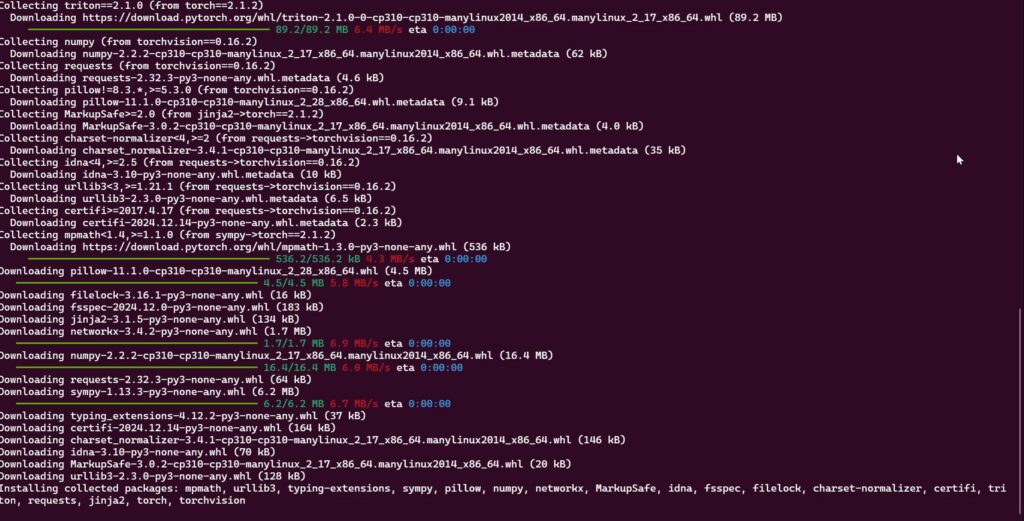
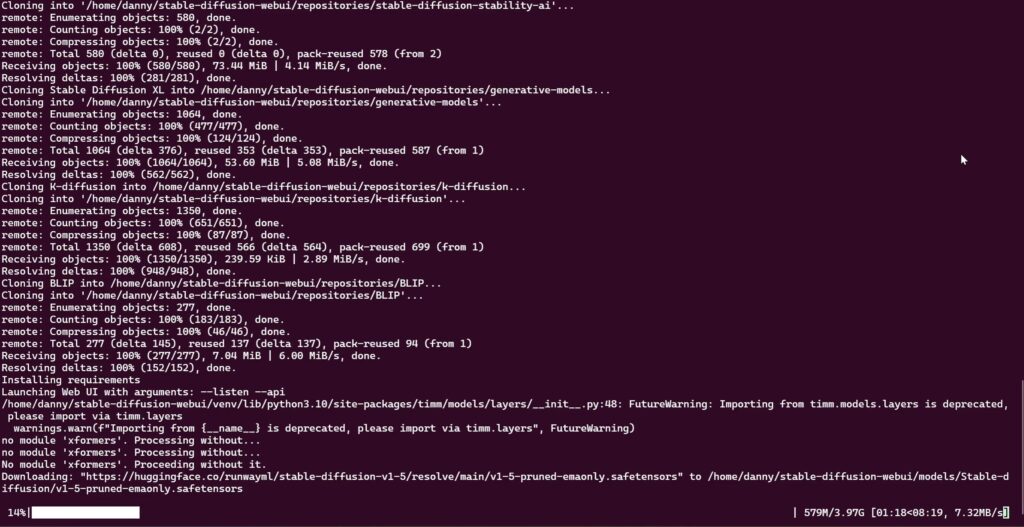
At this stage, the setup process will begin downloading all the necessary components required to run Stable Diffusion. This includes essential Python modules and a default model for image generation, ensuring everything is ready for use.
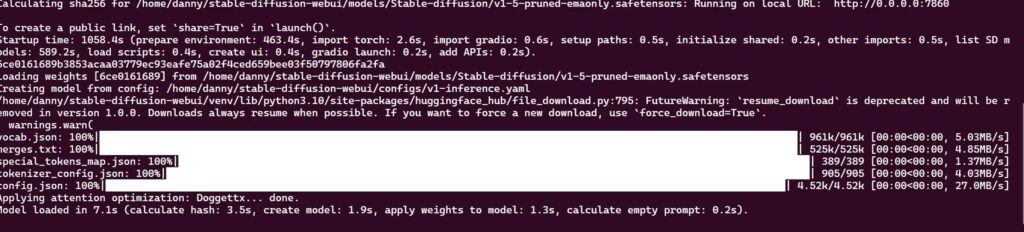
Once you see the “Model loaded” message, it indicates that Stable Diffusion is ready to use. To access it, open your browser and navigate to http://localhost:7860.
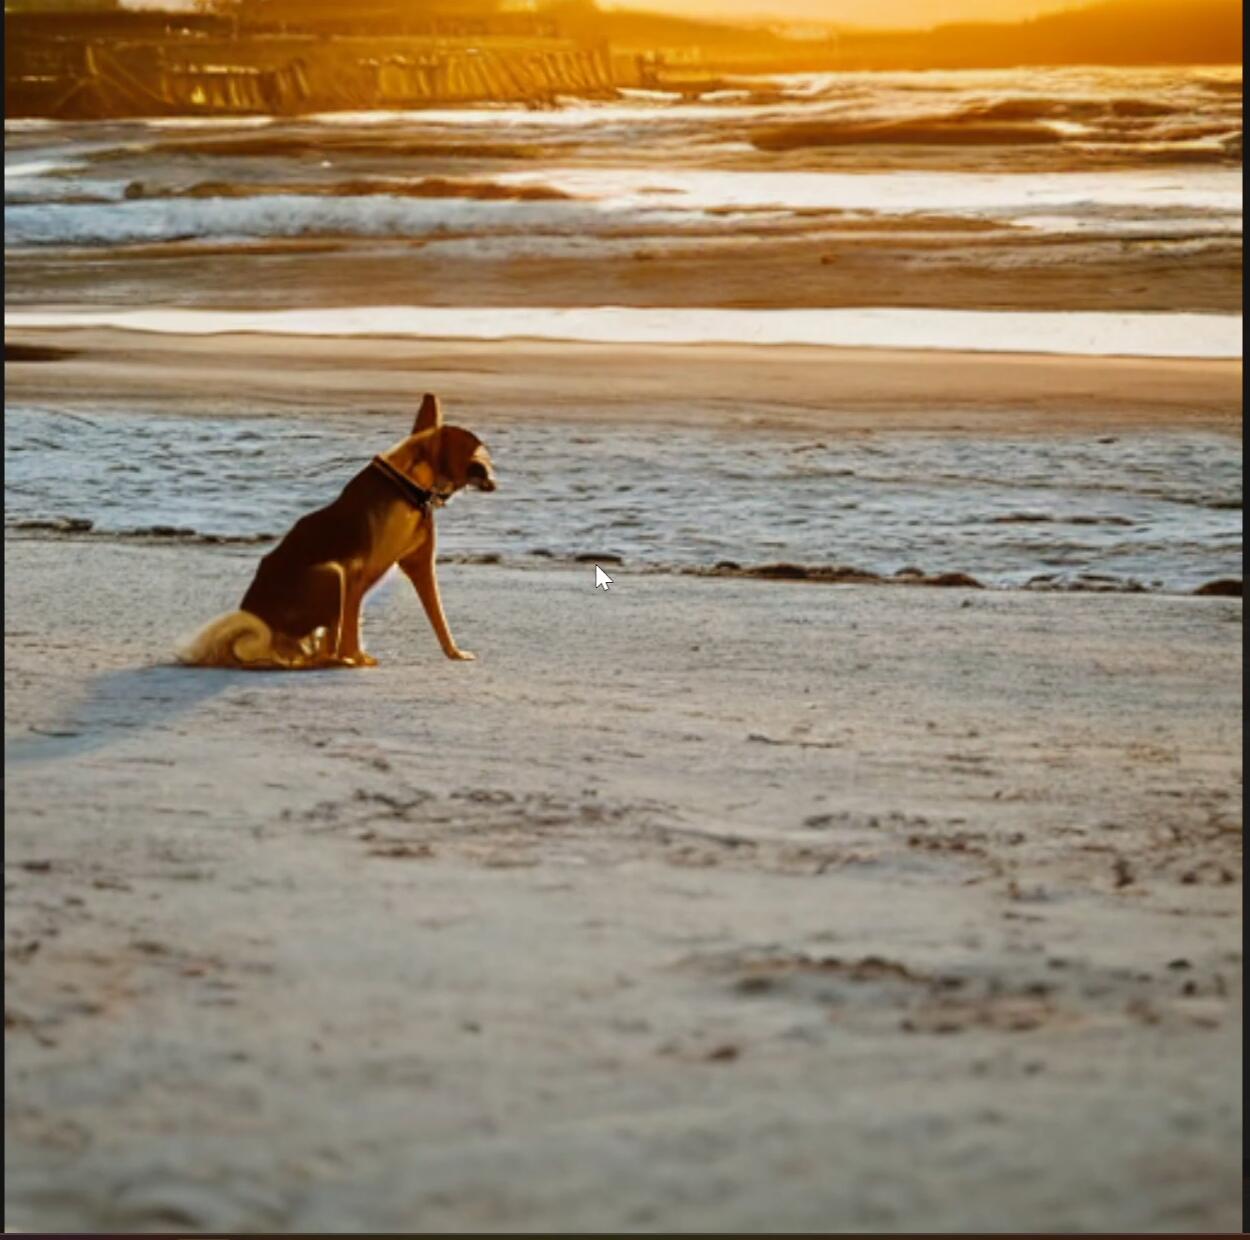
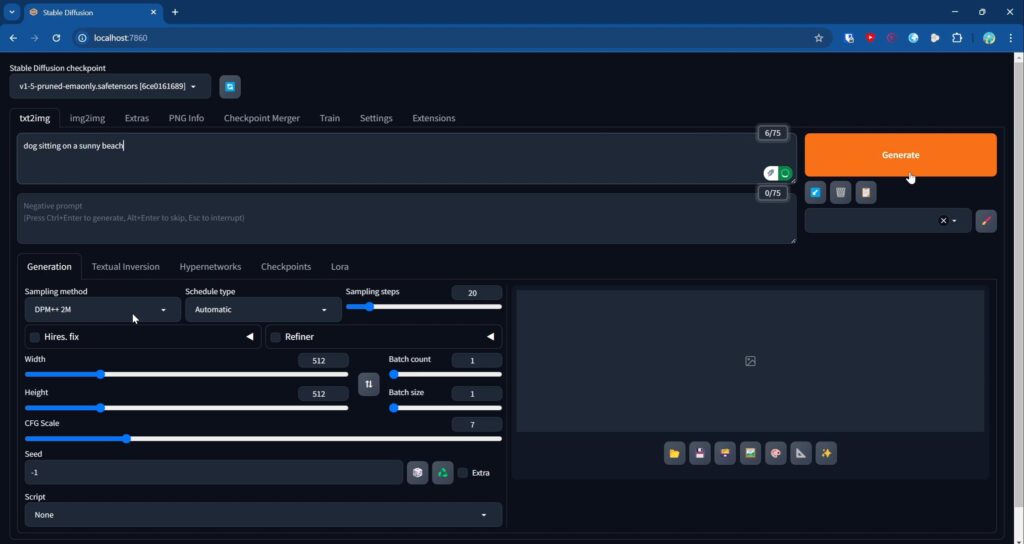
This step launches Stable Diffusion, where you’ll find a wide range of customization options. For a quick test, I entered the prompt “dog sitting on a sunny beach” and clicked Generate to create an image.
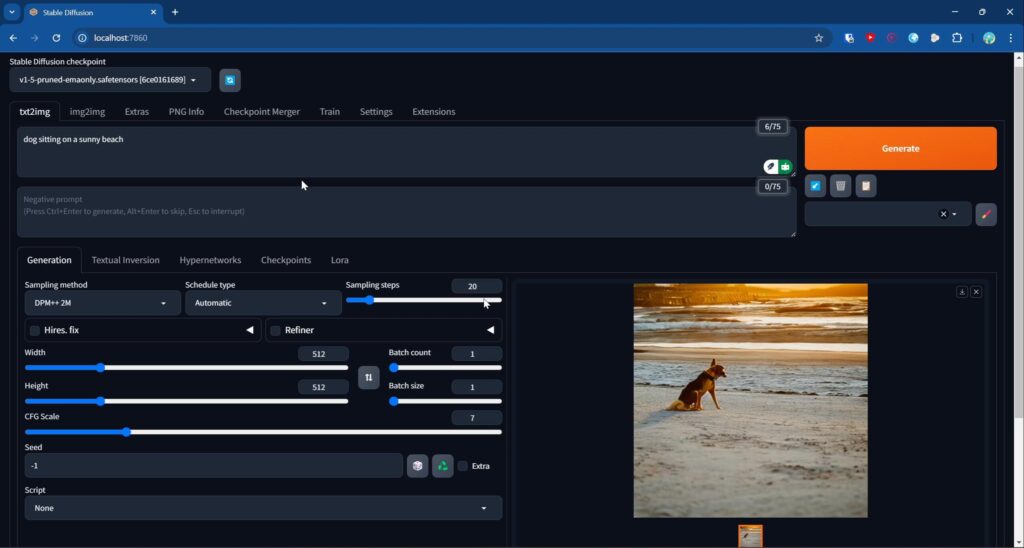
The generated image looks decent, but it’s not exceptional—and that’s largely due to the model being used. Stable Diffusion conveniently includes a default model, but for higher-quality results, you’ll want to explore better models available on platforms like Hugging Face. When choosing a model, ensure it’s in the .safetensors file format for compatibility. While this tutorial focuses on demonstrating image generation, I may cover how to download and add custom models in the future. For now, this confirms that the image generation process is working as expected!
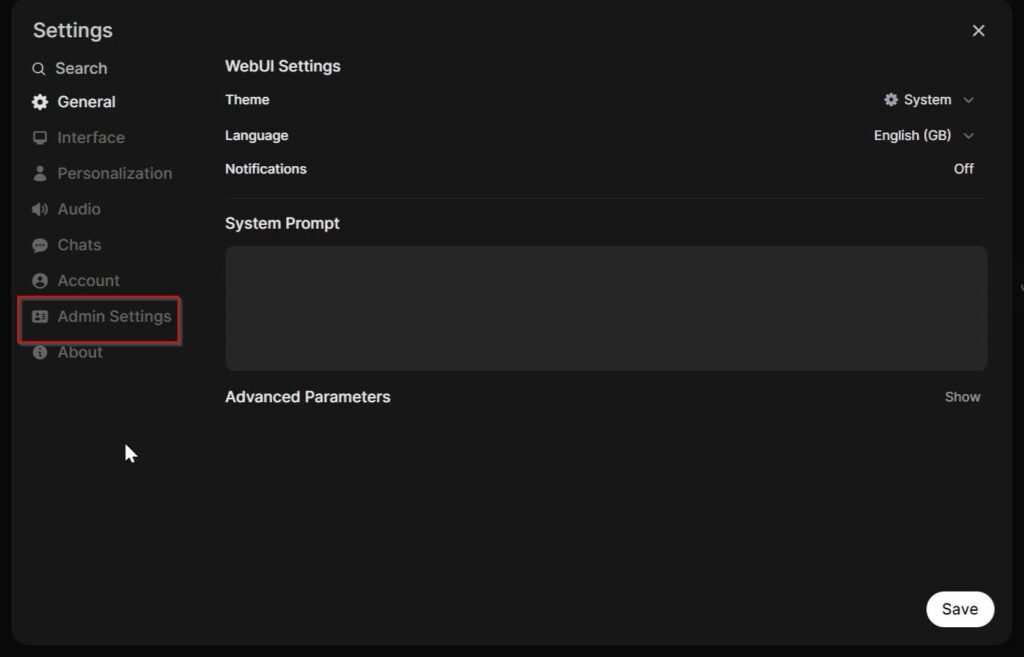
The final step is to integrate Stable Diffusion with OpenWebUI. To do this, open OpenWebUI and navigate to the Settings section to begin the configuration.

Navigate to the Settings section and then select Admin Settings to proceed with the configuration.
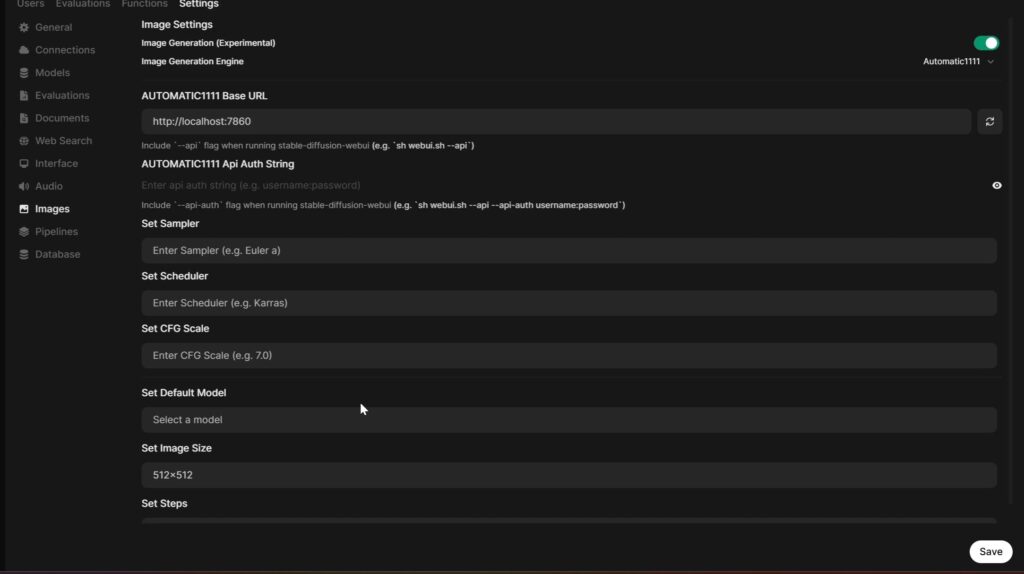
To ensure everything works smoothly, double-check your settings for image generation. In Automatic1111, the base URL should be set to http://localhost:7860. Under Image Generation (Experimental), make sure the button is enabled, and the Image Generation Engine is set to Automatic1111. After configuring these settings, click the refresh button next to the base URL. If everything is set up correctly, you’ll see a green “Server Verified” message, indicating that Stable Diffusion is successfully connected. Once verified, don’t forget to click the Save button to apply your changes.
You can now enter a prompt to start generating images. For example, I used the prompt: “a red dragon in a castle” to showcase the capabilities of the image generation feature.
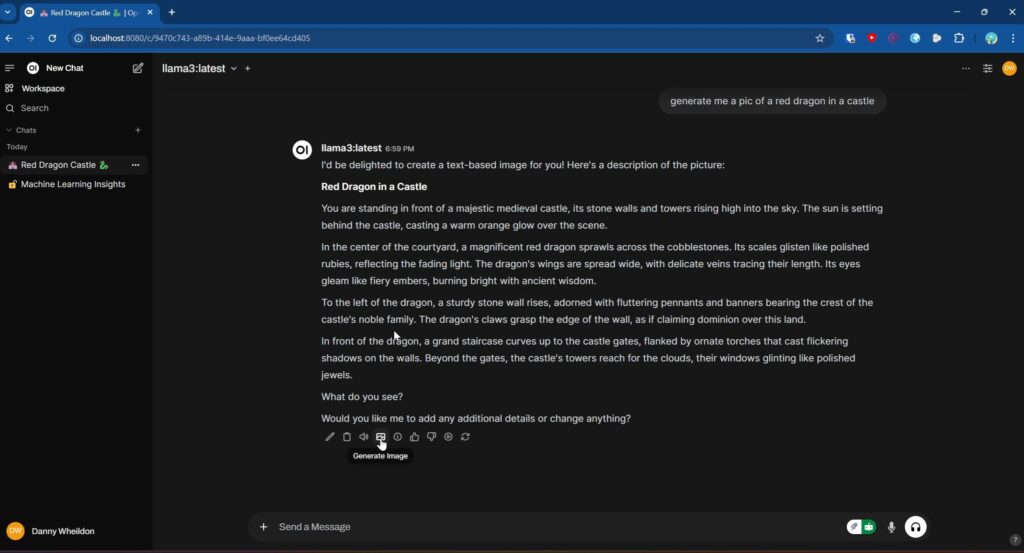
However, you may notice that the image isn’t generated immediately. This is because, with OpenWebUI, you need to click the “Generate Image” button to start the process. While this extra step might feel redundant, it’s a current requirement. Future updates may streamline this process, but for now, you’ll need to perform this action twice to successfully generate an image.

Admittedly, the generated image may not be visually impressive, but it demonstrates that the image generation functionality is working as intended. By utilizing more advanced models, you can achieve significantly better results. However, exploring those models falls outside the scope of this tutorial.
Now, you have a powerful chatbot at your fingertips, where you can seamlessly ask questions and generate stunning images—all in one convenient interface, much like ChatGPT. However, keep in mind that if you close and reopen WSL, you’ll need to rerun the command ./webui.sh –listen –api to reload Stable Diffusion and restore full functionality. This step ensures that the integration remains active and ready for use..